|
The main things that I will take away from this class are the things we learned in Unit 1 and Unit 6. Unit 1 because Game Design is a profession I want to do as a career and knowing how to properly make a Resume, write a Cover Letter, or design a Website will most definitely help me get a job in the Game designing business. Unit 6 because one dream of mine is to become an animator and if I'm going to be in game design as a job, I will want to make 3D games and knowing how to animate can most definitively get me hired or can give me the opportunity of making my own. While we've only done simple animations like a ball bouncing, if I practice with the Dope sheet, Curve editor, and CAT rigs I'll be able to animate freely in 3Ds Max. One of the most rewarding experiences I had was when I had to redo a project I had due in a day, while I got far from a good grade on it, I still felt accomplished when making it in less than an hour when everything was due. Another rewarding experience I had was when I had gotten a one hundred on a Portfolio check that wasn't graded out of pity, and as Portfolio checks are big percentages of my grade, it felt nice to actually earn a one hundred on something big. One last experience I can remember that was rewarding was when I made my UV textures for my robot, because I actually made them by going into Photoshop and using a mouse to draw the textures over the UV templates, while the model didn't look as good as I wanted it to be, it was still a good feeling to know that I organically made texture for my model, also it was rewarding to be done with it because drawing with a mouse is awful. Skills I believe will follow me into the future are definitely the things we learned in Unit 1 because those are designed to help people like me who want to be a game designer make it in the business and be successful if done right, the production cycle and Portfolio making and designer are the two main takeaways from Unit 1 I can say I will work on and use in the future to come. This year has been a long one with many tools learned in 3Ds Max and techniques as well, but since my focus is more in 2D art, what I'll use in the future and remember from this class is Resumes, Cover letters, and Portfolios from Unit 1. 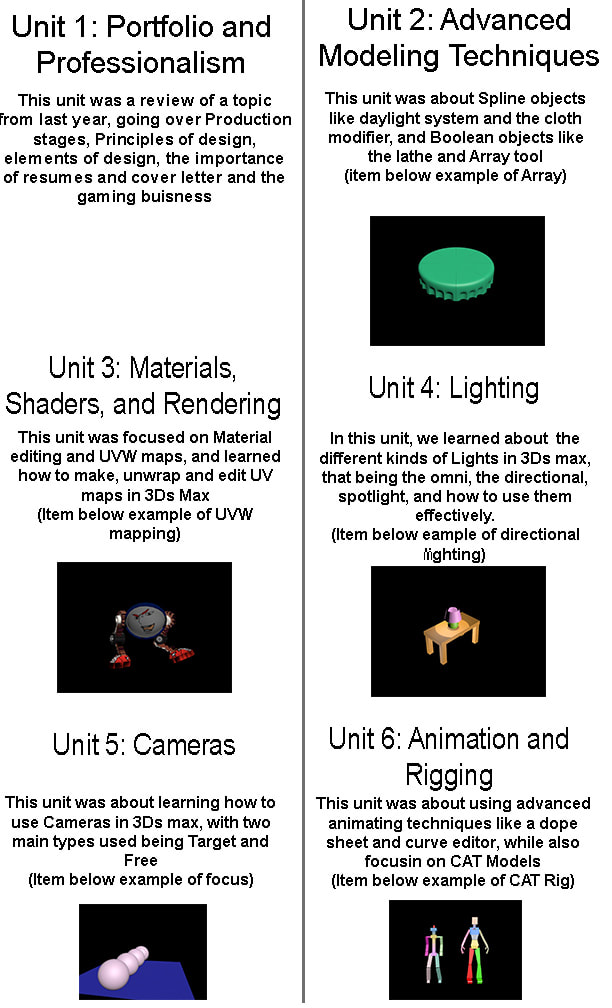
0 Comments
In the weeks leading to the release of Smash, fans and creator Masahiro Sakurai were hyping the game up as the ultimate Smash game, with all fighters from past installments coming back, and more content and polish than any other Smash game. I made a post about how the game was going to be the best game of 2018 before it was even close to being finished, but is the game as good as it was hyped up to be? Yes and no. The game has over 70 characters now, each with mostly unique move sets and combos, the game has tight fast past game play and controls, fun to play and fun to watch. The game is easy enough for newcomers to pick up and have fun, but hard to completely master and play on a competitive level. Smash Ultimate does its best to make this the ultimate installment in the franchise, with some fan requested characters being playable or in the game otherwise, stage builder, a single player experience that's over 60 hours long, a video editor, a variety of stages to choose from, and so much more. But there is a problem with this installment, that of course being the online, as Nintendo online is cheaper than other payed online services, it doesn't feel like a service you should pay for. In the past, matches online were group in two main sections, for fun and for glory, for fun threw you into a match with any stage with all items on and for glory threw you into a match on a flat stage with two stocks in a 1v1. Ultimate abandoned this method in favor for preferred rules, where the player can set their rules and enter a match with someone. The problem is that there is no dividing factor between people who want to play for fun and those who want to play competitively, no to mention the lag in 1v1 matches, the constant internet crashes and kick outs, and random opponents that most of the time would be way higher in rank and skill or are lower in skill and rank that don't give a challenge. There is a lot of content that feels like they didn't put enough in, like the different modes in Games and more or the sub modes in the Smash menu. While some parts of the game feel vapid, the game is still better than previous installments and more fun to play alone and more so with friends
In 3ds max there is a tool call CAT rigging, a tool that is used for 3D animating inside 3Ds max. The tool is call the Character Animation Toolkit and allows animators to do non-linear animation with models. The tool allows for realistic animation for anything with the proper bone structure and comes with different preset models you can use to animate if you can't make your own. The CAT rigs also come with their own muscle strain system to realistically simulate muscles. The first CAT object we learned was Marama, which is a basic skeleton of an humanoid model with bones and joints without any texture or skinning that helps with animating in 3D. Marama is used to animation any humanoid characters on a basic level, the model resembles a human skeleton system that makes animating a lot easier. If you like to make your own custom CAT rig, you can be making a CATparent and in the Load save menu, clicking on None and clicking add pelvis, then by clicking on pelvis you can add any limbs you'd like. CAT rigging is not an easy this to do, with one assignment on CAT rigging taking about 4 hours to complete of a simple action. CAT rigging is a basic and most useful way of animating characters in 3DS Max.
“Creating a CATRig.” Autodesk Support & Learning, Autodesk Knowledge Network, 11 Dec. 2018. 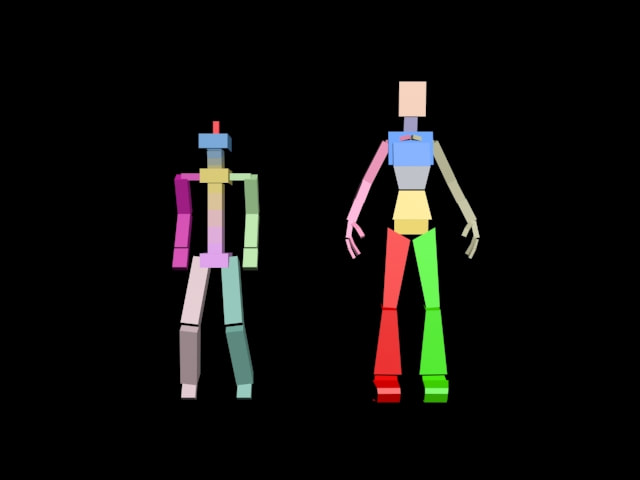 This quarter has been a odd one, due to time restrictions a lot of topics were put into this quarter, we did cameras, lightning, and now animation. Animation is the most difficult and most time consuming topic to do in 3DS Max. In the assignment called Bouncy Ball Animation, we use the curve editor the make the ball bounce more like how a normal ball bounces. catch is we have to make it bounce off of three different objects, and it is harder than it sounds. The problem with animating in a 3D space is that it's hard to control where the object you're animating goes where you want it too. To animate you can use autokey, to use the slier on the timeline and goes to a specific frame you want the animation to end on, then move your object to move around, then the auto key will create a key frame to show that the movement of the object is now an animation. Now this is easier than frame by frame but still is hard to accurately move the object like you would in a controlled setting. Animation is hand down one of the most time consuming things to do in 3DS Max, while not all that difficult, the number of hours you can sink into only 3 seconds of animation creates the illusion of difficulty, which makes animation the hardest topic we've done
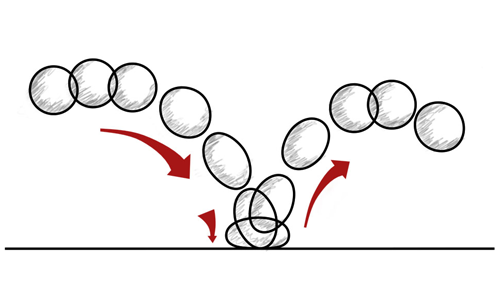 Lighting are very important when rendering a model or scene in 3ds max, it can set the mood in a scene or give it a pinch of realism with different techniques. In 3ds max there are different kinds of lights to use, for example the Omni light radiates light in all directions, normal used as a fill light to balance out other lights. Directional lights function exactly how it sounds, it beams light through a cylinder onto a single point, these are used mostly for simulating sunlight. Skylight light the outside of a scene, ever having settings for the time of day to simulate it. Spotlight lights through a cone shape, used for simulating flashlights or spotlights. There are two different kinds of lights in 3ds max, free lights and Target lights. Free lights allow the modeler to move it and rotate it freely while the Target light restricts the movement to a single point. Free lights are normally used as fill lights, meaning the lights don't need to focus on any point or model. While Target lights are used to keep focus on the Target model, using a Target light and pointing it at a model will make the viewer focus on that model. If you want to add some realism in your scene with lights, you will have to use shadows. When using shadows, there are three big settings to use to impact the scene, Density which controls the darkness of the shadow, Color which controls the color of the shadow, and Mapping which controls any textures added to the shadow. Lights can impact the scene in 3ds max with shadows and the many different kinds of lights.
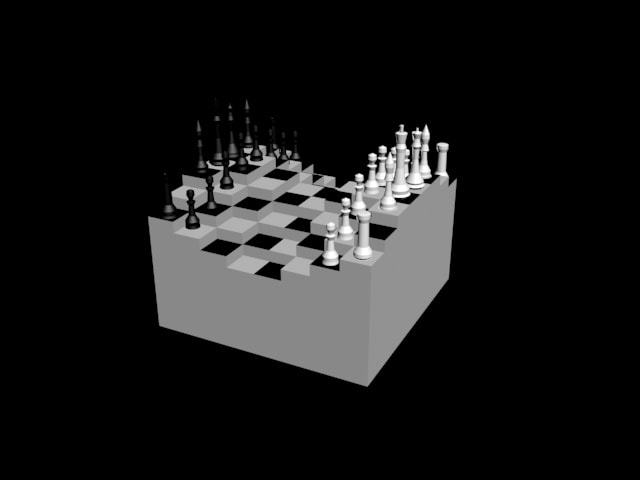
app.schoology.com/page/1992296654 In DDA II this past week, we've been working on UVW maps, UVW maps are used to make primitive objects in 3DS Max look like real word objects. I've only worked on one assignment dealing with UVW maps, and in that one I had to make a box from a box from a tutorial and a board game box from UVW maps. For the first box I just followed the tutorial, though I had to use the Slate modifier window rather than the compact window like in the tutorial, so it wasn't completely step for step from the tutorial. The next box was a board game box, for this one I had to line the box up at camera level and take pictures of each of the sides to use them as bitmaps, then I had to measure the height and width of the box to make sure the bitmaps would fit. After that, I save the pictures on google drive so I could download them on to my computer and make them into bitmaps on 3DS Max. All I had to do then was make a box with the right measurements, apply bitmaps to the different faces and render. At this moment, I feel like UVW Maps are a pretty easy concept to grasp and execute, It really is just getting the right pictures, the right measurements to make sure the pictures fit on the surface, applying said bitmaps to different sides of a object, and rendering the object from different sides.
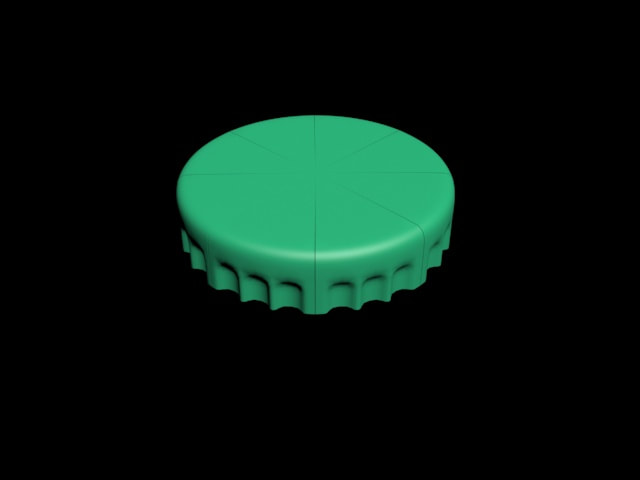
This year in Digital Design was more 3D focused than last year, so I got more time to work with 3ds max for this class. In that time, we've used a lot of tools and modifiers that were frustrating to use like cloth and some were fairly easy like blob mesh. I feel like my favorite tool we've used is the modifier Lathe, which isn't the easiest one out there but it's still a very useful tool that I used for some assignments. Lath is a modifier that fills and spherifies, in a way, a shape out of a line tool, this is very useful whenever you want make something like a fountain, without much detail, in a short amount of time. The cloth is definitely my least favorite modifier because of all the tedious trial and error that has to go into getting the simulations and there are so many outside factions that you need to fix that it's very frustrating. I believe that we will use Lathe and cloth in future assignments, because I used the lathe and cloth tools in recent assignment and a couple others in the past, so I think it's a guarantee that we will see the two again in different assignments. I feel that all previous modifiers and tools I've done will be brought back for future assignments because it feels like they will be back so that we can get more practice with those or for some, be reminded of there existence.
   3DS Max is very hard to work with and to use sometimes, especially with some of the modifiers, specifically the cloth modifier. The cloth modifier makes any shape act as a table cloth, draping over a shape that was assigned as a collision object, which isn’t always true since Max doesn’t save anything in the cloth menu. To use the cloth modifier correctly, you’ll need a high poly count, which you can imagine is a feet for any computer to pull off without exploding. If the collision object has any edges or points, the cloth will clip through those edges like the edges were tearing apart the cloth. If you use a chamfer box as a collision object, the cloth will completely ignore it or start to glitch out and invert on itself. Then, in the tutorial we are following, we are tasked with making a flag using the cloth modifier, wind tool, and gravity tool.This one is harder to do then the table because we are supposed to make the flag wave in the wind for 100 frames of animation without anything messing up. My experience with this part has been pretty bad since I am yet to finish this part at the time of me writing this.
Video: RealLifeEd, director. YouTube. YouTube, YouTube, 21 Apr. 2016, m.youtube.com/watch?v=8jRyCJjAifY. I prefer Parametric modeling over Surface modeling mainly because it is much faster to make it then then the Surface modeling assignments. To tell why, I'll be using two assignments, The robot walker which uses Surface modeling and the Dodecahedron which uses Parametric modeling. The robot walker tutorial was split up in sections for each part of the robot, the head, legs, and feet. The dodecahedron is a 2 minute video tutorial that is very straight forward in design and tools. In my experience with Parametric modeling, I found it very hard to mess up the dodecahedron, maybe it was the nature of the model or how short the tutorial was or something. The robot walker however was very easy to mess up, with it being based off a 2D drawing and a lot of instructions being very unclear. I've had a pretty short experience with both modeling methods, but I much prefer the short and simple Parametric modeling method over surface modeling.
3D, Luxxeon. “3d Tutorial | Nested Dodecahedron | 3dsmax.” YouTube, YouTube, 7 July 2015, www.youtube.com/watch?v=c-55LauzlAI&feature=youtu.be. “Creating a Giant Robot Walking in a Live Action Scene.” 3D & Motion Graphics Envato Tuts+, cgi.tutsplus.com/tutorials/creating-a-giant-robot-walking-in-a-live-action-scene-using-3ds-max-boujou-and-after-effects--cms-26840. 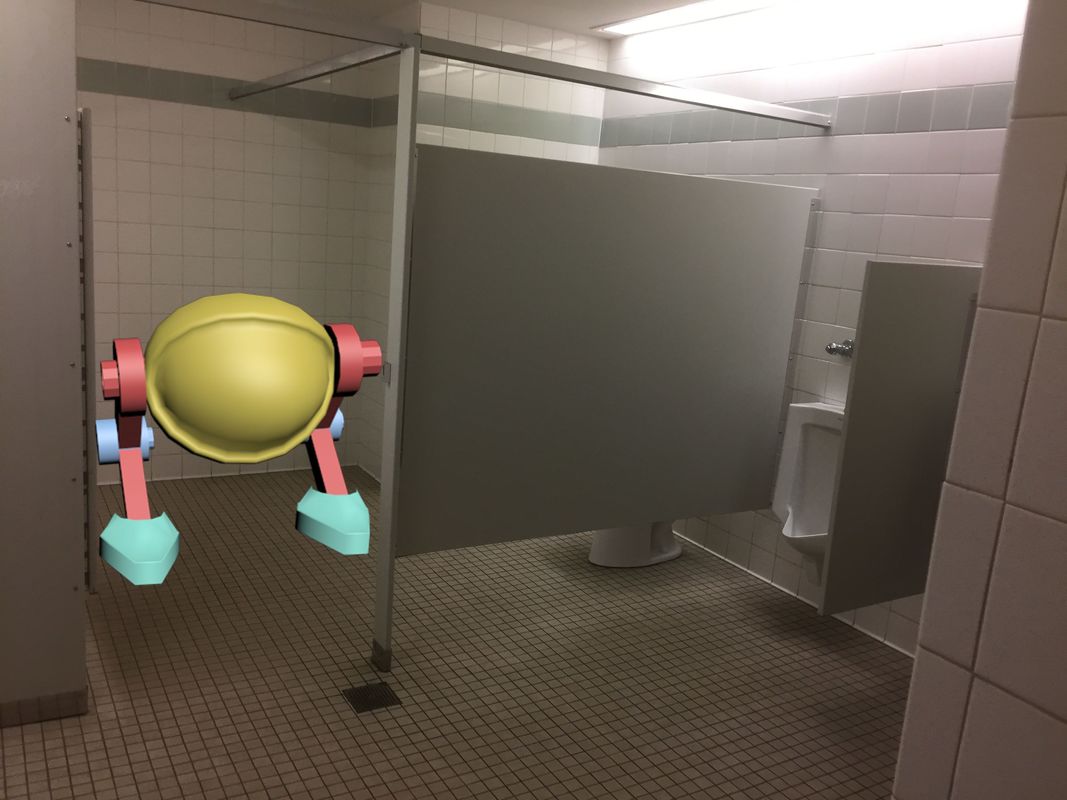 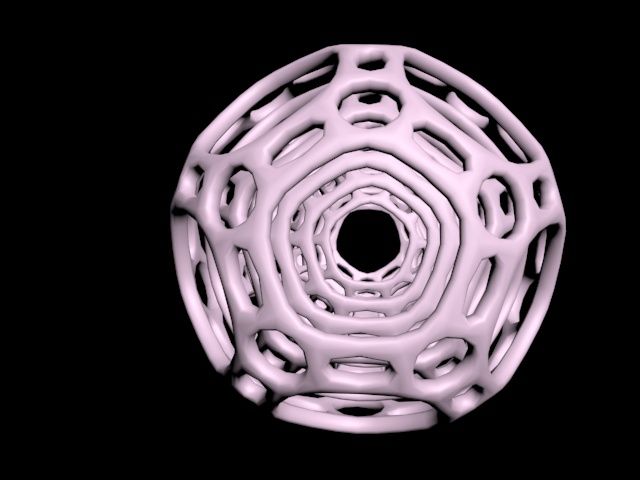 Ah the early 2000's, there's something interesting about adaptions in this era, they always turn out amazing awful, like a train that is sinking in the ocean while on fire. Doom the movie is trying to be Alien with it's characters and setting more than the actual game, they replaced Demons with humans that turn into zombies because drugs ,they called the BFG the Bio Force Gun in a R rated Movie, replaced literal Hell with meteoric hell and the movie is so boring, it has to play heavy metal when characters run. The acting is awful to put it lightly and the story couldn't be further than the game until the climax of the movie and that's went the movie goes from a Alien knockoff to a no commentary play through of the original game. As the movie drags on, we find out the Rock, who I assumed to be Doom Guy, is during out to be the bad guy when he orders Reaper, a stock solider with a mysterious past, to kill a group of survivors which Reaper refuses to do, which was actually the back story to the original game. than Reaper gets shot and has to take the zombie drug, which puts the camera in first person and turns to Doom 1 game play with not "At Hell's Gate" plays in the background, the Rock puts on some colored contacts and calls himself evil and gets killed by Reaper. Now what could have they done differently, well they shouldn't have tried to rip off Alien and actually make a movie based on the game, make the demons look like the ones from the game, make Doom guy a silent protagonist and make the story more faithful to the original.
“See What's next.” Netflix Official Site, www.netflix.com/. Doom 2005 |
